Step 1
Create a new file with ActionScript 3.0 and modify the document like it’s shown on the screenshot below. Then enter the document properties via the admin panel or pressing Ctrl+J. Choose black colour.

Step 2
Add 6 images from computer to your library. To do this press File > Import > Import to library.
Create 6 layers and give them the names Buttons, Images 1, Images 2, Images 3, Images 4 ,Images 5 and Images 6.
Step 4
Click the button layer and drag the images from library to the stage. Then modify their size to 114×85 px and arrange them like a button. Drag the first frame up to the 149 cell to copy it.
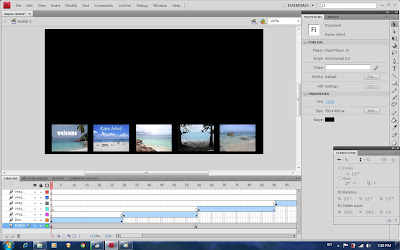
Step 5
Switch to the Images layer and select the first frame on the timeline. Drag the image that corresponds to the first thumbnail from library to the stage. Size it down to the 500×268 px and set its position to the 100×18.
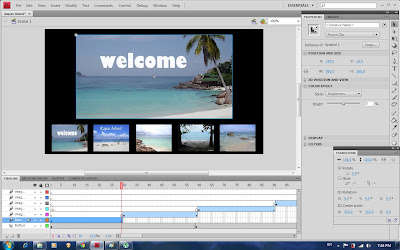
Step 6
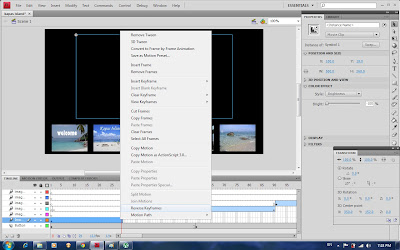
Click on the image and right click, then choose create motion tween.
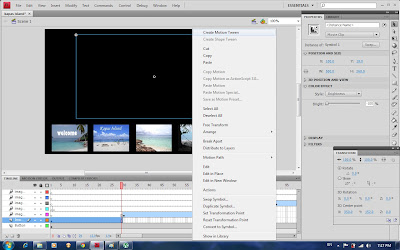
Then go to the colour effect there and choose brightness and make it become -100%.
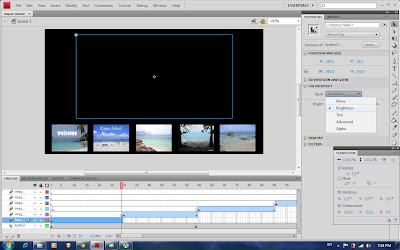
Click on the timeline and choose reverse keyframe. Repeat step 5 and 6 for the following 4 picture.
Step 7
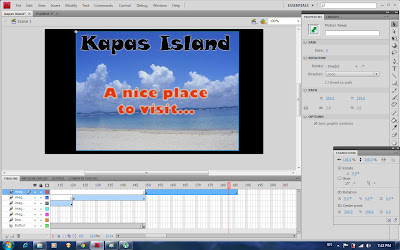
Drag the last picture from library to stage and size it 520 x 380px and it position is 100.3 x 8.0 as the end of this flash.
Step 8


No comments:
Post a Comment