now we wanna show you,
how to make our S.O.S logo~
the original picture
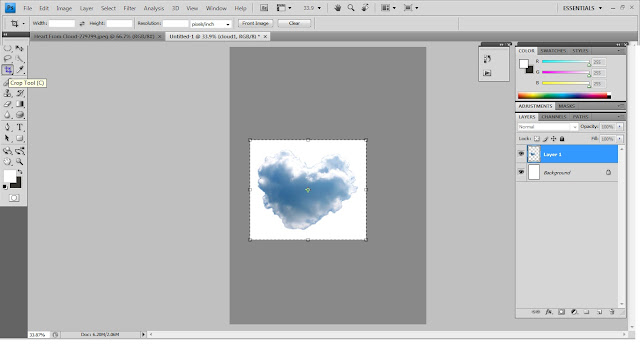
1st - Use the "magic wand tools" to select the love shape and then move to the new paper on the other side.

2nd - Use the "Crop Tool" to crop the love out which have been selected . Then, renamed it as cloud1.
4th - select cloud1
5th - double click the "cloud1" layer , then select "Drop Shadow"
5th - select "cloud1 copy" layer then change the opacity to "41%" which under the "General Blending"
7th - add "S.O.S" text inside a new layer. Choose "Impact" font and size= 26 .
9th - double click "S.O.S copy" layer > change the opacity to "19%"
10th - double click the "S.O.S" text layer > choose "Bevel and Emboss" and "Stroke = change size 1 "
^_^


No comments:
Post a Comment